Both of the Dell E6400 laptops I’ve owned came without the backlit keyboard (first one was stolen in Ibiza)
So, both times, I have retro-fitted a backlit keyboard.
The process is simple, and I’ll show you how below. They don’t need any drivers – they light up when you press a key, and dim to save battery after a minute or so.
Dell provides a Service Manual, with good instructions on doing this also –
http://support.dell.com/support/edocs/systems/late6400/en/sm/html/keyboard.htm#wp1179980
If you want one, please contact me
I can usually get hold of them for around £20 – £25, plus delivery.
Step 1
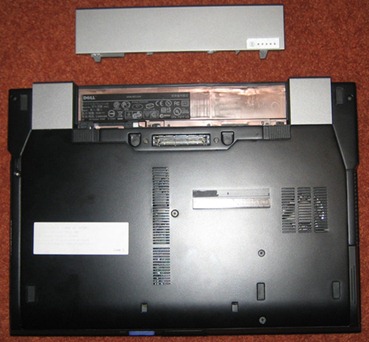
Remove the battery. Fairly self explanatory. Just in case you’re not sure…. here’s a picture:
Step 2
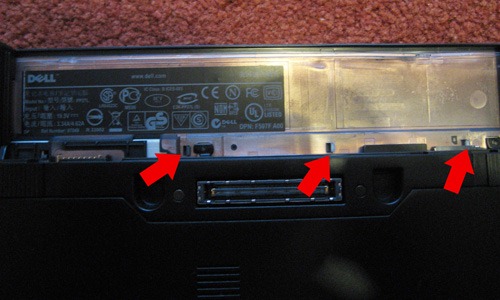
Locate the little plastic clips that hold the led cover on (the bit on the front that runs across the top – above the keyboard, below the screen hinges)
Use something plastic and ease them out.
The led cover should pop off.
Step 3
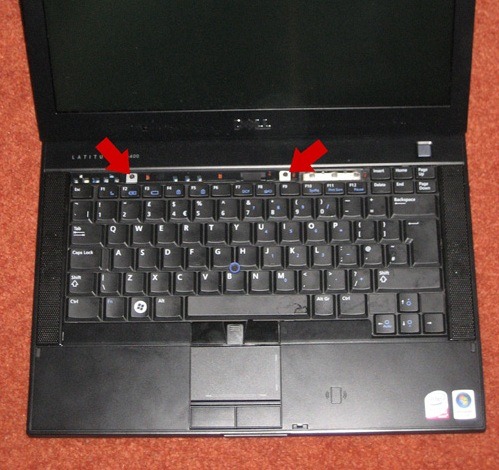
There are two small Philips head screws under the led cover that hold the keyboard in place.
Unscrew them, be careful not to lose them (my first laptop had one screw when I put it back together, thanks to me not heeding above advice)
Step 4
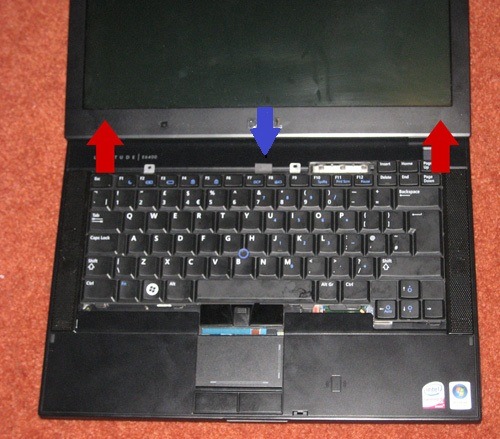
Theres a little plastic tab in the middle, at the top (see blue arrow)
Use this to gently pull the keyboard towards the top (as indicated by red arrows)
The keyboard should pop out of its connections at the bottom, and easily come away.
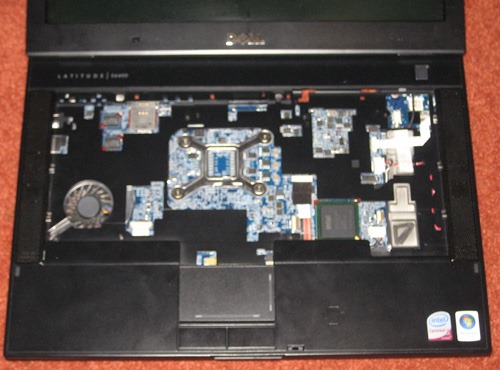
Step 5
Without sounding like a Hanes manual, refitting the new keyboard, is the opposite of removal.
Turn on your laptop, and press one of the keys – it should light up!
Leave a Reply